• Home
  • Garden Rewards
  • 2025 Veggie Stock
  • 2025 Fruit Tree List
  • 2025 Rose List
  • Est. 1946
  • Newsletter
  • + Explore
    • Nursery
    • Edibles
    • Roses
    • Succulents & Cacti
    • Houseplants
    • Lazy K
    • Christmas Trees
  • Gift Cards
  • Events
  • Blog
  • Plant Care Sheets
  • 🔎 Search
  • Work With Us!
  • Hours & Information
  • Plant Warranty
  • Menu

 Orchard Nursery

  • Home
  • Garden Rewards
  • 2025 Veggie Stock
  • 2025 Fruit Tree List
  • 2025 Rose List
  • Est. 1946
  • Newsletter
  • + Explore
    • Nursery
    • Edibles
    • Roses
    • Succulents & Cacti
    • Houseplants
    • Lazy K
    • Christmas Trees
  • Gift Cards
  • Events
  • Blog
  • Plant Care Sheets
  • 🔎 Search
  • Work With Us!
  • Hours & Information
  • Plant Warranty

Q & A: Hydrangeas

December 09, 2016

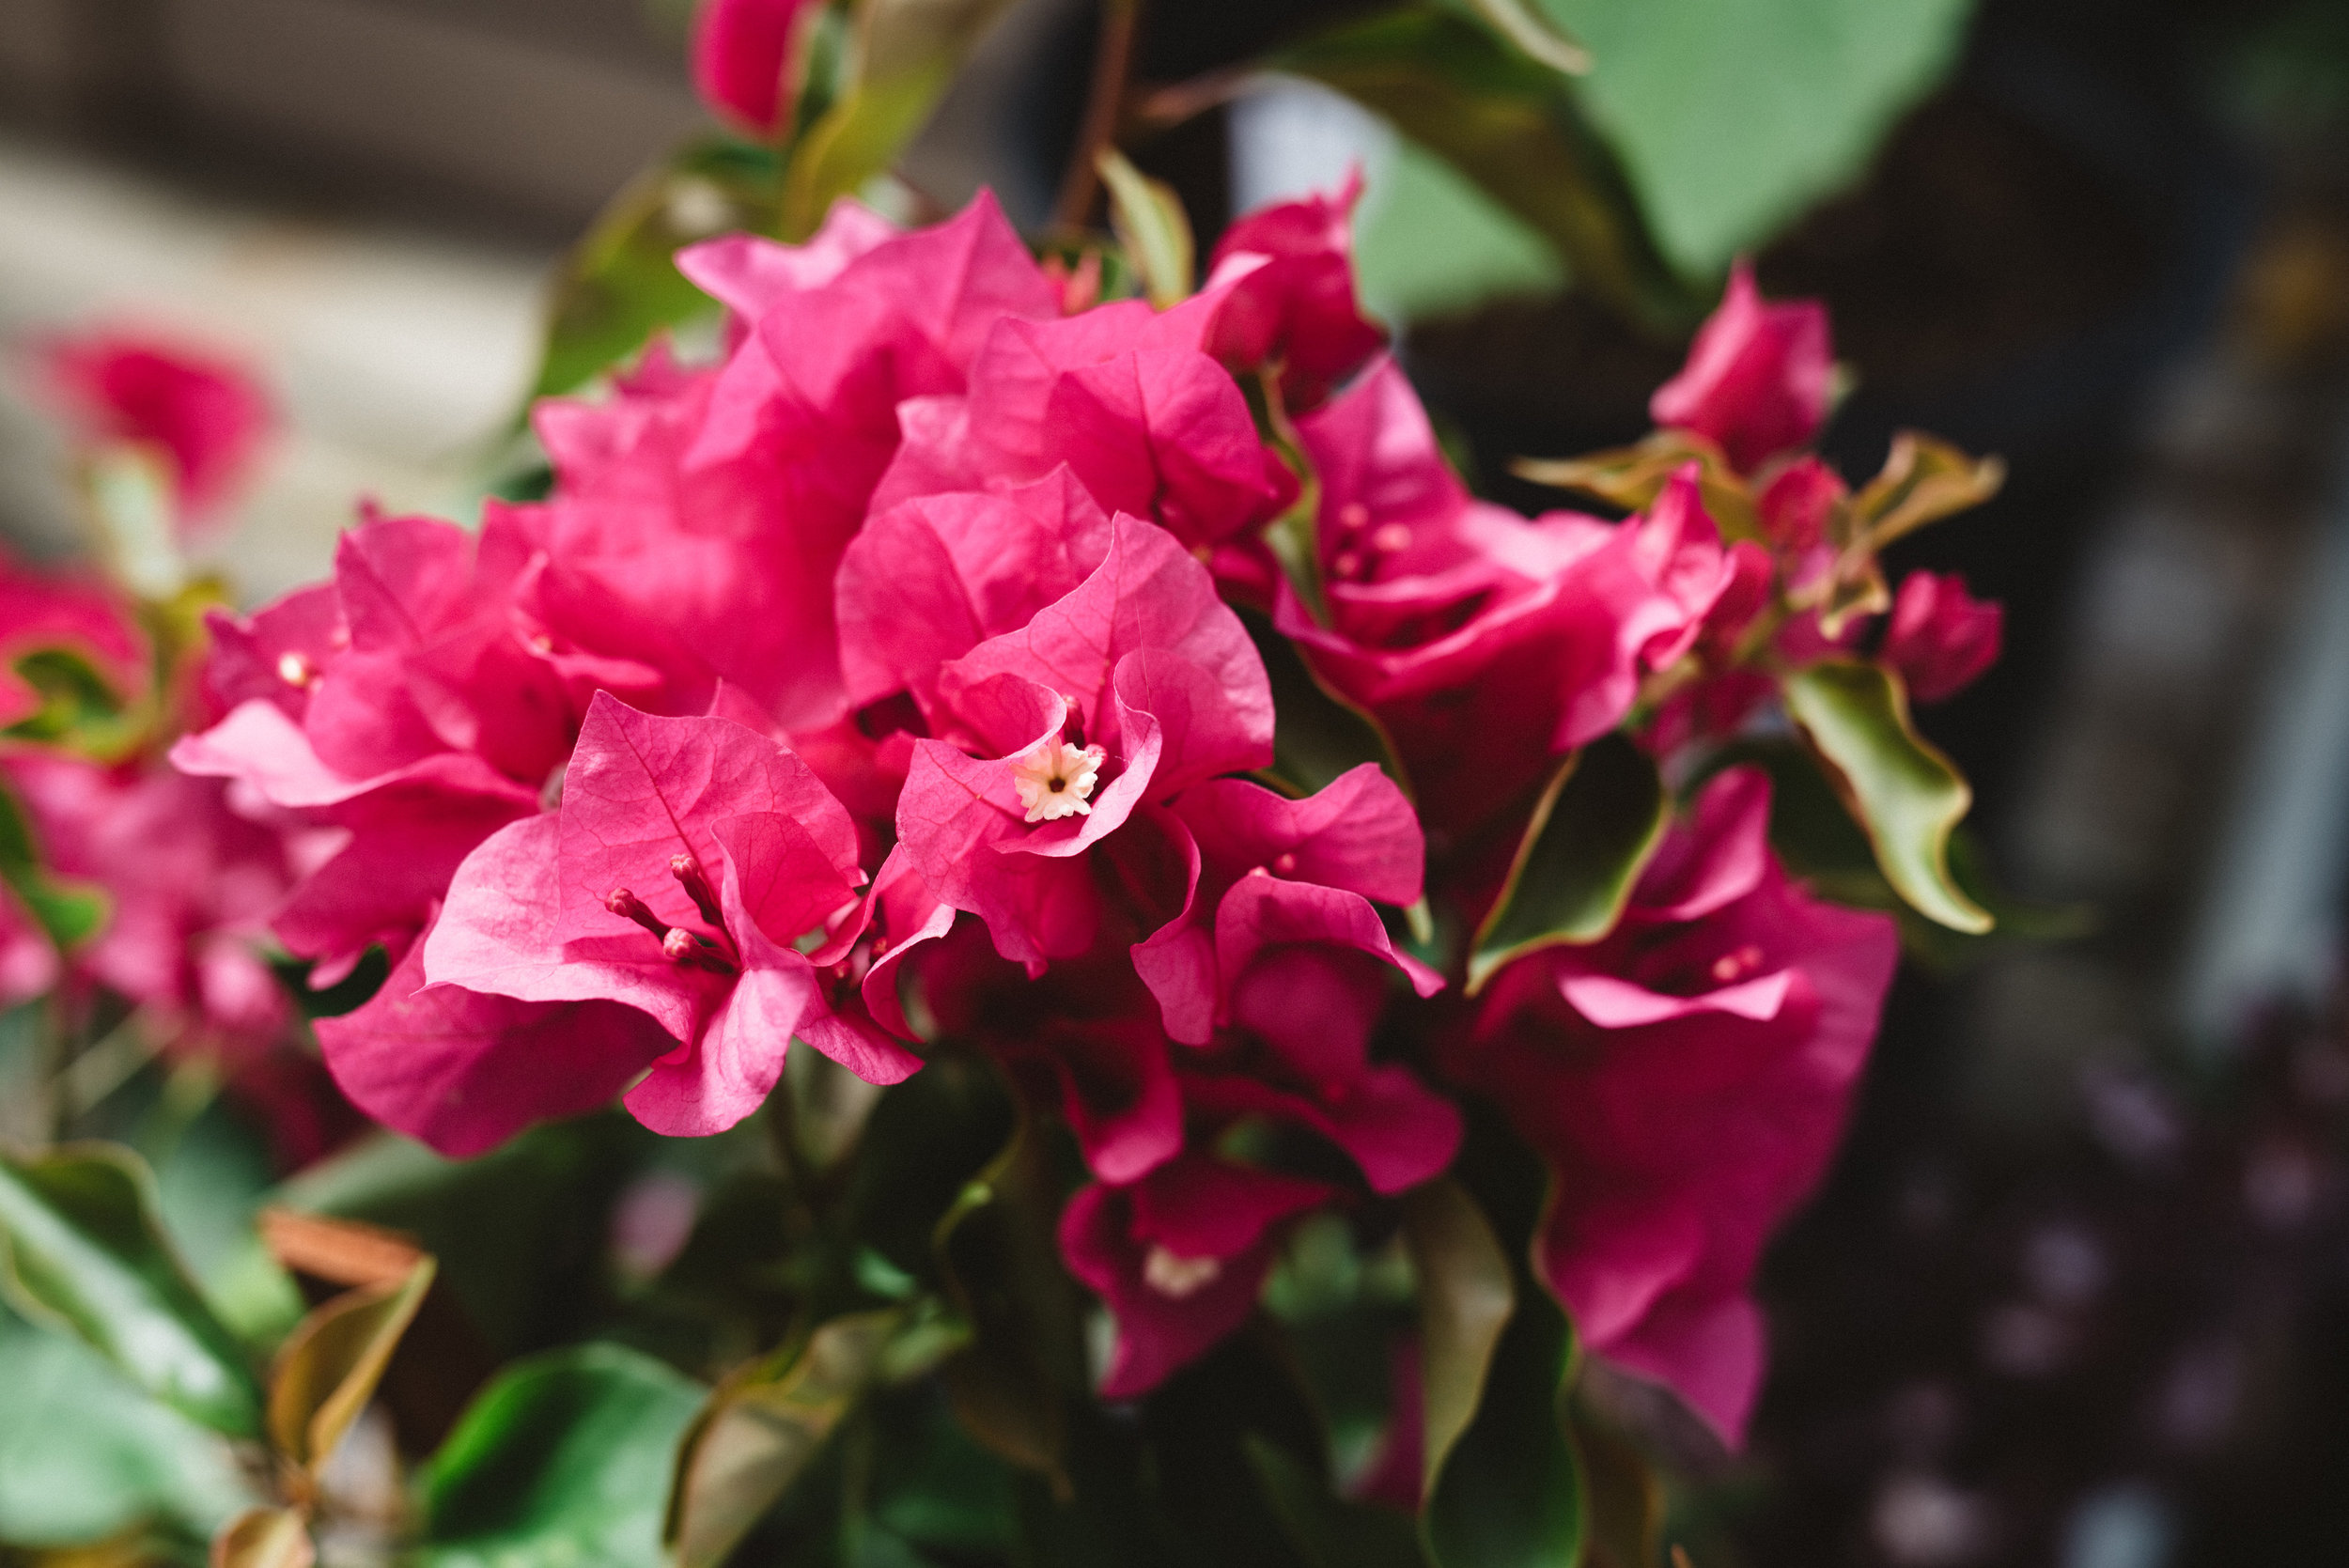
Hydrangeas are one of the most beautiful blooms, and we tend to get many questions around their care. Today we are providing answers to the two most common questions we get! If you have other questions about your hydrangeas, get in touch and we'll happily help!

The most common question we get about hydrangeas is “How do I change the color of my hydrangea blooms?”

Many varieties of hydrangea blooms change color because of the acidity of the soil (more acid generates more blue hues and more alkaline generates more pink hues). That means you can change the color of your hydrangeas by changing the acidity of your soil! But before attempting to change the color, it is important to note a few things:

hydrangeapH.jpg
  • White hydrangeas cannot be changed to pink or blue, although a slight coloration will show as blooms age.
  • There are no ‘true red’ hydrangeas, so no matter how convincing those pictures in the catalogs are or how much lime is added to the soil, at best you'll achieve a very dark pink.
  • The intensity of a bloom's color (how deep or pale the color is) develops for a number of reasons including plant heredity, weather conditions, health of the plant and other natural factors. A regular fertilizer program is one way you can help create a more intense color.
  • A few varieties of hydrangeas have color that is extremely difficult to change, such as Pia, which wants to stay pink. The way to change the color to these more complicated varieties is to alter the soil chemistry. These soil additives should be applied four to six months before blooming begins.
    • If your soil is alkaline (more common in Contra Costa), then the color will naturally be pink/lavender. To change the color to blue, add Master Nursery's Hydra Blue Aluminum Sulfate. Hydra Blue should be applied at a rate of 1 Tbsp. to ¼ cup, depending on the age and size of the plant. Make three applications, starting fall, and going through winter (November, December, January).
    • If your soil is acidic, the color will naturally be blue. To change the color to pink, add E.B. Stone Organics Dolomitic Lime (or Superphosphate where available). Dolomitic Lime should be applied two to three times during late fall and winter. Sprinkle 3-4 cups around the base of a large shrub. It is almost impossible to add too much lime, but too little will give disappointing results. It is common for blooms on a hydrangea shrub to be several colors – from pink to lavender to blue. This is especially true the first year the hydrangea is planted and after the soil chemistry is altered.
For blue hydrangeas add Hydra Blue, for pink add Dolomite Lime. 

For blue hydrangeas add Hydra Blue, for pink add Dolomite Lime. 

The second most common question we get is "Why won’t my hydrangeas bloom?"

Timing is everything when it comes to pruning hydrangeas! The most common reason that hydrangeas don’t bloom is that the shrub was pruned at the wrong time of year. While it is fine to cut off blooms for arrangements or just to neaten the plant at any time, unless a hydrangea is quite old and the blooms have become small, it is not necessary to prune a hydrangea to maintain good health. If pruning is necessary to revitalize the plant or reduce its size, the following guidelines should be considered:

  • For pruning purposes, hydrangeas can be placed into two categories: those that bloom on new wood (‘new wood’ are the branches that emerged on the shrub in the spring of the current year) and those that bloom on old wood (‘old wood’ are the branches that have been on the shrub throughout at least one summer and winter before spring bloom).
  • If a hydrangea blooms on new wood, it can be pruned almost any time of the year, as close to the ground as one wishes. It will still bloom at its normal time since blooms form on the current new growth.
    • Two popular hydrangeas that bloom on new wood are ‘Annabelle’ and ‘Pee Gee’ hydrangeas. Both bloom creamy white and can be pruned regularly. Other Hydrangea paniculata varieties would also fall into this category.
  • Most commonly grown hydrangeas bloom on old wood (last year’s branches). Hydrangeas that bloom on old wood set their flower buds in late summer or early fall to bloom the following spring. It is important that this type be pruned before the end of July to assure abundant blooms the following spring. Do not prune ‘old wood’ types in the fall, winter or early spring because most of the flower buds will be removed and few blooms will appear.
    • The best known species in this category is Hydrangea macrophylla. This group includes the commonly grown ‘mophead’ varieties with blooms of pink, blue and occasionally white. There are also many lovely lacecaps in this category. In addition, the following are ‘old wood’ bloomers: H. quercifolia (Oakleaf hydrangea), H. aspera, H. serrata (such as ‘Grayswood’ and ‘Preziosa’), H. petiolaris and some other lesser known species.
Both available in our outdoor shop! 

Both available in our outdoor shop! 

To insure your setting blooms are healthy, we recommend feeding your hydrangeas either Master Nursery's Master Bloom 0-10-10 or E.B. Stone Organics Ultra Bloom 0-10-10. Not only will this assist in hardening plants to withstand the coming winter temperatures but will add color to your blooms.

Now is a great time to apply Master Bloom or Ultra Bloom to all of your blooming plants including fruit trees, shrubs, citrus, azaleas, camellias, rhododendron and more! Formulated without nitrogen, they aid in the development of flower and fruit buds and help plants resist disease and cold winter damage. 

Stop by with any questions or reach out to us with a picture of your plant on our Facebook page! 

Last-minute Recipes for your Thanksgiving Table

November 22, 2016

Thanksgiving is two short days away, and it’s time to get your menu set! If you’re still looking for a few delicious, but healthy side dishes, look no further than our friends at Kaiser Permanente.

Roasted Sweet Potato Medley

This recipe is simple to prepare and full of beautiful color, not to mention, leftovers are a great addition to salads the next day!

Servings: 4

Prep Time: 15 minutes

Cooking Time: 30-40 minutes

Ingredients   

1 large garnet yam (or other type of sweet potato)
1 pound assorted small potatoes
2 tablespoons olive oil
2 tablespoons fresh chopped herbs, such as sage, thyme and oregano
Salt and pepper to taste

Directions

Preheat oven to 425 degrees. Peel sweet potato and dice into 1/2 inch chunks. Wash small potatoes and cut in half, depending on size. Mix potatoes in a bowl with olive oil, salt and pepper. Spread the potatoes on a baking sheet and sprinkle with the chopped herbs. Roast for 30 minutes or until nicely browned.


Kale with Sautéed Apples and Onion

Kale combined with Fuji apples and a sweet onion from your local farmers’ market or personal garden creates a sweet, yet hearty side dish that’s easy and full of flavor.

Ingredients

1 bunch of kale, about 1 pound
2 Tbsp olive oil
2 apples, any kind
1 large onion, sweet or not
1 tsp curry powder
1/2 cup water
Salt to taste

Directions

Trim the kale leaves from the stems and the main central ribs. Slice the leaves into strips. Peel the onion and slice it into 1/4 inch wedges. Do the same with the apples. Heat the oil in a large saucepan. Sauté the onions for a while until they begin to soften, but not brown - about 5 minutes. Add the apple wedges and curry powder. Sauté another 2 minutes. Add the sliced kale and water. Cover, bring to a boil, then simmer for about 5 minutes or until the kale is tender. Season with salt and enjoy.


Garlic Green Beans

Here’s one Thanksgiving green bean recipe you don’t need to add a can of mushroom soup concentrate to!

Servings: 6

Ingredients

1 pound green beans, trimmed and cut however you’d like
1 clove garlic mashed with 1/2 teaspoon salt
1 Tablespoon balsamic vinegar
1 Tablespoon toasted sesame oil
Salt and freshly ground pepper to taste

Directions

Mix the garlic, vinegar and sesame oil. Steam the green beans in your steamer over a scant inch of water until crunchy tender – 3 to 5 minutes. Toss with the dressing; season and serve hot, cold or at room temperature.

Cheers to lots of happy eating!

Controlling Fruit Tree Diseases with Dormant Sprays

November 17, 2016 in Fall

Peach leaf curl is one of the worst diseases afflicting peach and nectarine trees and one of the most common for us backyard gardeners! Caused by the fungus Taphrina deformans, symptoms include abnormally thick, puckered and curled leaves with reddish foliage. Infected trees are affected at their blossoms, fruit, leaves and shoots thus weakening the overall tree and diminishing its fruit production.

IMG_5206.jpg

Leaf curl can only be controlled when sprays are applied during the dormant season. Spray the first application after 90 percent of leaves have fallen (around Thanksgiving). then spray once a month with Liqui-Cop in late November, December and January.

In February, spray once a week with Copper Fungicide.

Note that if it rains within 4-5 days of application, reapply after rain. Adding 1 percent Master Nursery Pest Fighter Year-Round Spray Oil (2.5 tablespoons per gallon) will improve control.

Now is also the time to spray for shothole fungus on almond, apricot, cherry and plum trees. Use Liqui-Cop after leaf fall. To help control scab on apples, fire blight on pears and anthracnose on dogwoods, use dormant spray late winter/early spring in cool weather, just after dormancy ends.

Finally, sanitation is key to preventing next year's pests and diseases, so be sure to pick up and dispose of fallen leaves, twigs and fruit!

Got questions? Stop into the nursery and speak with one of our nursery members today!

Tablescaping Ideas for Thanksgiving (and Beyond)!

November 15, 2016 in Houseplants

With Thanksgiving about a week away, it’s time to begin thinking about tablescaping! Decorating your table can be fun and have a great impact on the holiday atmosphere in your home, since that’s where you and your loved ones will be spending a great deal of time. Here are a few ideas that you can mix, match and make your own!

Personalized Place Settings

What guest doesn’t love to feel thought of and personally cared for? You can hand write name cards on beautiful craft paper, place an old photo of each person at their seat, or if you’re looking to spend a little more money, purchase cloth napkins and have each guest’s initials embroidered on them. (This item doubles as a party favor!)

Coastal Thanksgiving Table

If you’re spending Thanksgiving on the coast this year, there are beautiful ways to mix the aesthetics of the sea and the season. For example, opt for white pumpkins and a soft blue tablecloth with metallic accents and silverware. Or mix starfish décor with cornucopias in complimentary colors. Don’t be afraid to have fun and try something new!

Rosemary

Rosemary acts as a beautiful décor accent and smells amazing, too! Use twine to tie it to name cards or floral wire to make small wreaths. The hunter green hue will pair beautifully with almost any color palate.  Any leftovers you have can be added to your holiday cocktails for a chic garnish!

Kids’ Table Décor

The kids’ table at any holiday gathering should be full of fun, laughs and most importantly, something to keep them busy while the food is being prepared! We recommend using a large piece of craft paper as a tablecloth – this allows for doodles, tic-tac-toe, turkeys made from traced hands and simple clean up!

Floral Arrangements

No party is complete without a beautiful floral arrangement (or two)! We recommend shorter bouquets that won’t interfere with your guests’ line of sight as they eat. You can opt for traditional Thanksgiving colors or a more neutral combination – either way your guests will be sure to appreciate the beauty of fresh flowers in your home.

We hope these ideas allow for a more stress-free Thanksgiving hosting experience!

Baking Persimmons v. Eating Persimmons

November 11, 2016

Persimmons are a wonderful fruit for baking, dehydrating and eating; but knowledge on which types to plant and harvest, depending on your desired use, is important. Persimmons ripen from October to November and are very attractive trees that add beautiful color to any landscape in the fall. They are low maintenance and practically disease and pest free.

Baking Persimmons

You can allow astringent types, like Hachiya, to ripen to soft by letting them ripen on the tree or picking them when they are firm ripe and allowing them to soften at room temperature. Harvesting persimmons at the firm ripe stage will prevent losses, as birds and animals are not as likely to eat firm fruit. Astringent types are ideal for baking and dehydrating. Persimmon pudding and bread recipes call for astringent persimmons. Fruit should be ripened to jelly soft for baking. If you take a bite out of a firm astringent persimmon, prepare to pucker up!

Eating Persimmons

Harvest Japanese non-astringent types, like Fuyu, when fully colored. Cut the fruit from the spur with pruning shears, leaving the calyx (the green collar on the fruit) intact. Non-astringent persimmons are delicious when eaten firm ripe. They make a tasty accent on a salad, and compliment pork dishes nicely.

Protect Your Plants From Frost

November 08, 2016

Damaging frost seems to hit when we are simply not prepared! It comes when we are busy with holiday festivities, school functions, working late, among many other activities. With cold weather quickly approaching, learn how to protect your plants today.

While many plants need frost protection, common frost tender plants include: Citrus, gardenia, bougainvillea, lantana, tropical hibiscus, cuphea, dwarf oleanders, many ferns and succulents.

Frost-sensitive plants living in pots can be pulled close to the house and placed under an overhang. The south side of your house is the warmest, the north side is the coldest and the west side is warmer than the east. House walls give off more heat than unheated garage walls, and fences give little protection at all. The very best spot for frost-tender plants would be under an overhang next to a large window or sliding glass door. Most of the heat lost from our homes escapes via windows. This is bad news for our heating bills, but good news for tender plants.

Frost falls almost straight down. This means that plants under a solid overhang are protected. Boston ferns hung on the edge will often be burned on the outside, but fine on the inside. The same will happen to jade plants that are not tucked in far enough. If you have no porches, putting the plants under a dense evergreen tree will often be enough.

For long-term protection, build a frame and cover it with clear plastic, making sure it does not touch the leaves. Depending on the size of the plant, tomato cages work well as frames. If the plant is particularly tender, get an extension cord and rig a light in the enclosure. Outdoor Christmas lights work great, too (the old fashioned kind, not LED). Put them on a timer so they turns on every night without fail. If your plants are frost-nipped in spite of your best intentions, don’t be in a rush to prune off the damage. Delay pruning until after threat of frost--mid to late March in our area. The damaged tops insulate the lower parts, improving your plants’ chances for a full recovery.

Finally, plants come in all shapes and sizes, and so do frost covers. Frost Protek frost covers are bags with drawstrings, ideal for the protection of hanging baskets and container plants. If your plants are in the ground, try our frost tents in several different sizes. DeWitt N-Sulate (10’ x 12’) can be easily draped over larger shrubs and small trees. We also have frost cloth by the foot (12’ wide by any length). Be sure to remove the frost blankets during daytime hours. If you prefer to use a spray, try Cloud Cover, Wilt Stop or FreezePruf to help protect your plants from frosty nights. However, keep in mind that tender succulents can be protected with frost cloth, but dislike sprays.

What You Need to Know: Planting and Harvesting Onions

November 03, 2016

Planting

You can plant onions from either sets (bulbs) or transplants (bare root or six pack). Either way, choose a site with at least 6 hours of direct sunlight per day!

Sets: Sets are tiny bulbs that were started from seed the year before. Onion sets should be about the size of a marble. Onion sets should be firm and healthy when planted. Plant onion sets pointed end up, and cover with about 2 inches of soil. Depending on the mature size of your variety of onion, space about 3 to 4 inches apart. The bulbs need regular water to swell in size. Onions sets are available now in red, yellow and white varieties.

Transplants: Transplants generally result in larger onions than sets. Plant transplants close to the surface of the soil, spaced about 4 inches apart. Keep onions well watered throughout the season. Water stressed onions are stronger in flavor and more pungent. We'll receive one shipment of transplants (bare root) later in November, in an assortment of delicious varieties. We have transplants in six packs in stock throughout the season.

Harvesting

You can harvest onions at any stage. The plants you thin from a row can be used as green onions. However, onion bulbs are ready when about half of the tops have fallen over and the bulbs' skins have a papery feel. Bulbs allowed to remain in the ground until half or more of the green tops have fallen over will store longer. Once you see half of the tops are down, very gently coax the remaining leaves down, without breaking them off the bulb. Then allow the bulbs to sit in the ground and cure for a couple of days before you lift them. You'll have better luck digging around the onion bulbs, rather than pulling. You don't have to dig deep, just enough to loosen the remaining roots. Shake off and brush away any loose soil and let the bulbs finish curing in a warm, dry place with good air circulation. Leave the leaves on.

For storing onions, wait until the outside onion skins dry and the neck - where the leaves meet the bulbs - starts to shrivel. Then you can store them in a cool, dry location. Onions keep longer in cool temperatures (35-40 degrees F), but should not be allowed to freeze. Store onions in mesh bags or by braiding the tops together and hanging. Make sure they are not piled on top of each other, reducing air circulation. 

Prev / Next

Keep reading!

Featured
Nov 16, 2018
The Story Behind our Harvest Fest Farm Animals
Nov 16, 2018
Nov 16, 2018
Nov 2, 2018
How To: Revive Your Houseplants
Nov 2, 2018
Nov 2, 2018
Aug 6, 2018
How To: Preserving Herbs
Aug 6, 2018
Aug 6, 2018
Jun 28, 2018
From The Orchard: Stone Fruit
Jun 28, 2018
Jun 28, 2018
May 23, 2018
Blueberries 101
May 23, 2018
May 23, 2018
Apr 6, 2018
The Herb List
Apr 6, 2018
Apr 6, 2018
Feb 26, 2018
Lilacs 101
Feb 26, 2018
Feb 26, 2018
Aug 15, 2017
Citrus Care 101
Aug 15, 2017
Aug 15, 2017
Jul 7, 2017
Bougainvillea 101
Jul 7, 2017
Jul 7, 2017